


Supplies Needed:
- Greek Yogurt
- Popsicle mold
- Medicine dropper
- Food coloring
Directions:
- Pick a couple different colors and add it to a scoop of greek yogurt


Mother’s Day is right around the corner and there is nothing more special than gifting a homemade card! I have come up with a could different techniques that are so fun to make with your kids. Most of the supplies I had at home and everything else I found at Hobby Lobby.
Cupcake Liner Cards 

Supplies needed:
- Cupcake liners
- Paper
- Buttons
- Sharpie
- Glue

Directions
- Pick three different cupcake liners. Two need to be normal size and the third needs to be smaller
- Flip the first normal sized cupcake liner inside out and flatten it as much as you want
- Take the other normal size cupcake liner and trim it around the edges to make it slightly smaller than the first cupcake liner- glue it inside
- Take the small cupcake liner and flip it inside- glue it to the inside

Sunshine Cupcake Liner Card
This card is very similar to the flower card. Just use gold or yellow cupcake liners to create a sun and then decorate the rest however you would like!

Butterfly Footprint Card

Supplies Needed:
- Toxic-free paint
- Canvas
- Sharpie
Directions:
- Cover the bottom of your child's foot with toxic-free paint
- Press down firmly onto the canvas
- Repeat with the other foot
- Use a sharpie to finish the design of the Butterly
- Add optional message


Hello Spring!! I am so excited that it is finally starting to warm up outside! To celebrate I wanted to do some gardening with Lola... So we put together this edible sensory bin. It is messy so we took it outside. She loved being able to play in the dirt (chocolate cereal), eat the worms (sour candy worms) and plant flowers. It was easy to put together and I found most of my supplies from the dollar store.

Supplies Needed:
- Chocolate cereal
- Fake flowers
- Small pots
- Chocolate frosting
- Gummy worms
- Plastic container
Directions:
- Spread a thin layer of frosting on the bottom of the container
 2. Add gummy worms to frosting
 3. Blend chocolate cereal to create edible dirt
 4. Add edible dirt to container
 5. Add in pots, flowers and anything else you want!
 6. Take it outside and have fun!!


What do you get when you add two golf balls and add paint? Believe it or not some beautiful and baby friendly art. Lola and I had a blast doing this today. I guess one-year-olds can create some beautiful art lol. It was really easy and Lola had fun doing it because of the noises and stimulation.

Supplies Needed:

- Non-toxic paints
- Paper or canvas
- Tape
- 2 golf balls
- A lidded container, preferably with a clear top
Directions:
- Tape the paper to the bottom of your lidded container

- Add small amounts of paint on the paper
- Add your golf balls
- Close the container and add tape to make it secure

- Shake the container to help your baby understand and show them the noises the ball makes inside
- Enjoy your baby's masterpiece!
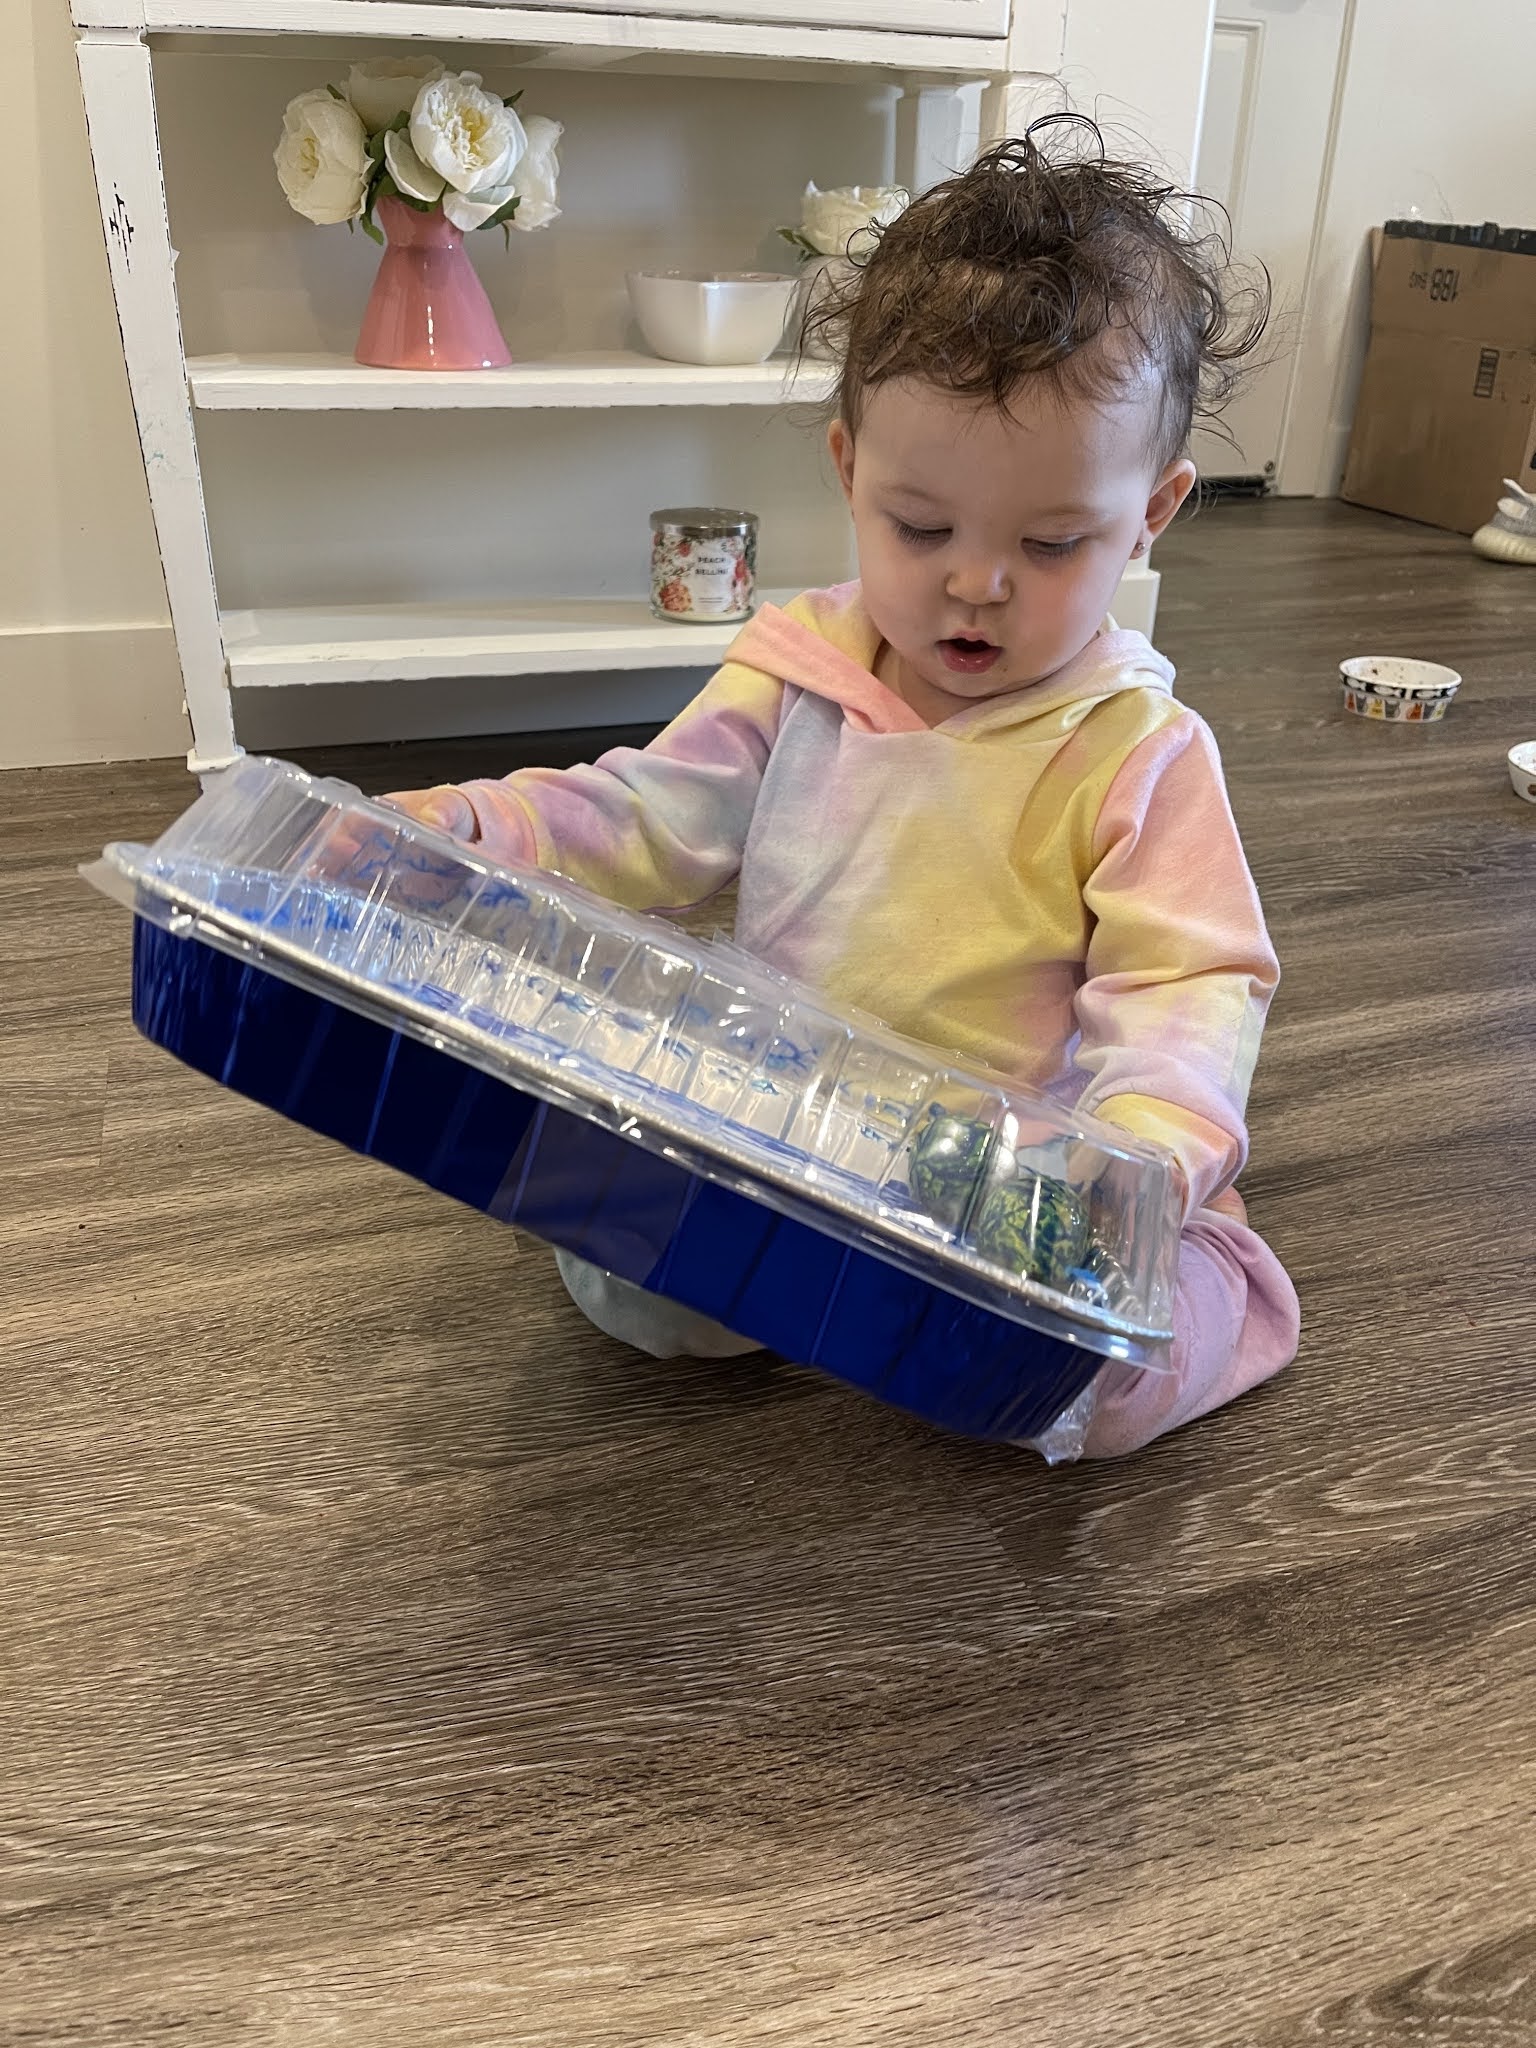


Optional:
- I cut out a heart shape on pasteboard and taped it down to our paper. This made the heart stay white when we were finished with the painting. This is optional... you could also do different shapes or letters.


Social Icons