
Felt Snowman Advent Calendar
Instructions:
- Begin with picking your design. You will need a large piece of felt for your background.
- Cut out different shapes using different colors.
- Make sure you have enough pieces for your countdown. I did twelve instead of 25.
- If some of your pieces are bigger they may need a small piece of velcro added to help it stick.
- Add fun sensory objects like buttons and pompoms.
- Start your countdown!

Santa Beard Christmas Countdown
Supplies needed:
- Paper plate
- Flesh colored paint
- Scissors
- Paper Cutter
- White copy paper
- White and red cardstock paper
- Cotton balls
- White boa
- Googley eyes
Instructions:- Paint the inside circle of your paper plate with flesh colored paint. Set aside to dry.
- Cut out 25 white strips of copy paper.
- Cut a triangle out of red paper to make the Santa hat.
- You can design the paper chain beard for your Santa anyway you choose with your 25 paper strips.
- Cut off a small strip along the top of your plate to make a straight edge.
- Glue hat to plate.
- Add mustache, nose and eyes.
- Add cotton balls to beard line.
- Add boa to hat.
- Paint the inside circle of your paper plate with flesh colored paint. Set aside to dry.
- Cut out 25 white strips of copy paper.
- Cut a triangle out of red paper to make the Santa hat.
- You can design the paper chain beard for your Santa anyway you choose with your 25 paper strips.
- Cut off a small strip along the top of your plate to make a straight edge.
- Glue hat to plate.
- Add mustache, nose and eyes.
- Add cotton balls to beard line.
- Add boa to hat.

DIY Kid’s Thanksgiving Table
Now that Halloween is over it is time to start thinking about Thanksgiving! I wanted to put together a kid’s Thanksgiving table that was cute, affordable and would keep Lola busy.
Tablecloth:
Table Placeholder:
A turkey leg made out of a brown paper sack and white paper. I put the crayons on the inside for a fun surprise for the kids.

Centerpiece:

Cups:
Turkey craft that kids can work on during the day.

There are other hidden gems to help thanksgiving dinner go as smoothly as possible.


For our third and final costume this year I wanted to do something that would work as a family costume. These dinosaur masks turned out so fun and even our dog got in on the action! They take a little bit more work but as you can see the final product is so fun.
Supplies Needed:
- Single walled cardboard
- Craft Blade
- Black and White Texta
- Polystyrene ball
- Scissors
- Hot glue gun
- Blu-tac
- Paint
Directions:
- I purchased the template off of zygotebrowndesigns.com. It had great and detailed instructions. I will include the link below...


This is such a sweet costume! And so so easy! If you need something to throw together quickly before trick-or-treating or a family party this is perfect for you.
Supplies Needed:
- Kids pink leotard
- Kids pink tights
- Pillow fill
- Styrofoam square
- Hair clips
- Glue gun
- White Poster Board
- Spray paint (I will add a photo below of the exact kind I used).


Directions:
- Take poly-fil out of bag and gently begin to pull apart, place on newspaper.
- Spray top of the poly-fil until lightly covered.
- Let it dry for at least an hour.
- Take sections of the poly-fil and glue them to your leotard. Continue the process until the leotard is covered.
- Cut poster board into a cone.
- Add poly-fil and poster board cone to styrofoam to create hat. I glued hair clips onto the bottom to attach to my toddlers head. You could also glue it to a headband.
- Assemble your costume; add your tights, leotard and hat!


DIY Piñata Halloween Costume
Supplies Needed:
- Different colors of felt (I used 12" x 9" pieces).
- Hot glue gun
- old outfit (I used an old long sleeve and pants).
- headband
- 2 styrofoam cones
- ribbon
- scissors
- ruler
Directions:
- Start by cutting your pieces of felt into 3 strips. I measured it out and did them all about 3 inches in width. Stack those three pieces of cut felt and cut a slit close to the edge.


Apple Back To School Backdrop

Fall is just around the corner and that means our kids will be returning to school before we know it. A big part of the first day of school is capturing a picture of your child to save forever. This backdrop is made out of paper chains. It is so fun because you can use the same technique but create different shapes for different holidays or events.
Supplies Needed:
- Paper
- Stapler
- Paper cutter
- Backdrop stand or blank wall
Directions:
- If you want to create this same apple backdrop you can use the pattern I have included.
- Cut 8.5 x 11 size pieces of paper into strips of 2 x 8.5 (that should give you five strips per piece of paper).
- Tape the paper into chains and connect them- following the pattern.
- Hang the strands of chains onto your backdrop stand or tape them onto a blank wall.
- Have fun with different props to capture your perfect picture!


Paper Plate Backdrop

Supplies Needed:
- Paper plates
- Painter's tape
Directions:
- Pick out paper plates that go with the color or theme you want.
- Add painter's tape to the back and tape them to your wall to create backdrop.
- Yes... it's that easy! As you can see below.. even my one-year-old was able to help me create it.


Supplies Needed:
- Greek Yogurt
- Popsicle mold
- Medicine dropper
- Food coloring
Directions:
- Pick a couple different colors and add it to a scoop of greek yogurt


Mother’s Day is right around the corner and there is nothing more special than gifting a homemade card! I have come up with a could different techniques that are so fun to make with your kids. Most of the supplies I had at home and everything else I found at Hobby Lobby.
Cupcake Liner Cards 

Supplies needed:
- Cupcake liners
- Paper
- Buttons
- Sharpie
- Glue

Directions
- Pick three different cupcake liners. Two need to be normal size and the third needs to be smaller
- Flip the first normal sized cupcake liner inside out and flatten it as much as you want
- Take the other normal size cupcake liner and trim it around the edges to make it slightly smaller than the first cupcake liner- glue it inside
- Take the small cupcake liner and flip it inside- glue it to the inside

Sunshine Cupcake Liner Card
This card is very similar to the flower card. Just use gold or yellow cupcake liners to create a sun and then decorate the rest however you would like!

Butterfly Footprint Card

Supplies Needed:
- Toxic-free paint
- Canvas
- Sharpie
Directions:
- Cover the bottom of your child's foot with toxic-free paint
- Press down firmly onto the canvas
- Repeat with the other foot
- Use a sharpie to finish the design of the Butterly
- Add optional message


Hello Spring!! I am so excited that it is finally starting to warm up outside! To celebrate I wanted to do some gardening with Lola... So we put together this edible sensory bin. It is messy so we took it outside. She loved being able to play in the dirt (chocolate cereal), eat the worms (sour candy worms) and plant flowers. It was easy to put together and I found most of my supplies from the dollar store.

Supplies Needed:
- Chocolate cereal
- Fake flowers
- Small pots
- Chocolate frosting
- Gummy worms
- Plastic container
Directions:
- Spread a thin layer of frosting on the bottom of the container
 2. Add gummy worms to frosting
 3. Blend chocolate cereal to create edible dirt
 4. Add edible dirt to container
 5. Add in pots, flowers and anything else you want!
 6. Take it outside and have fun!!


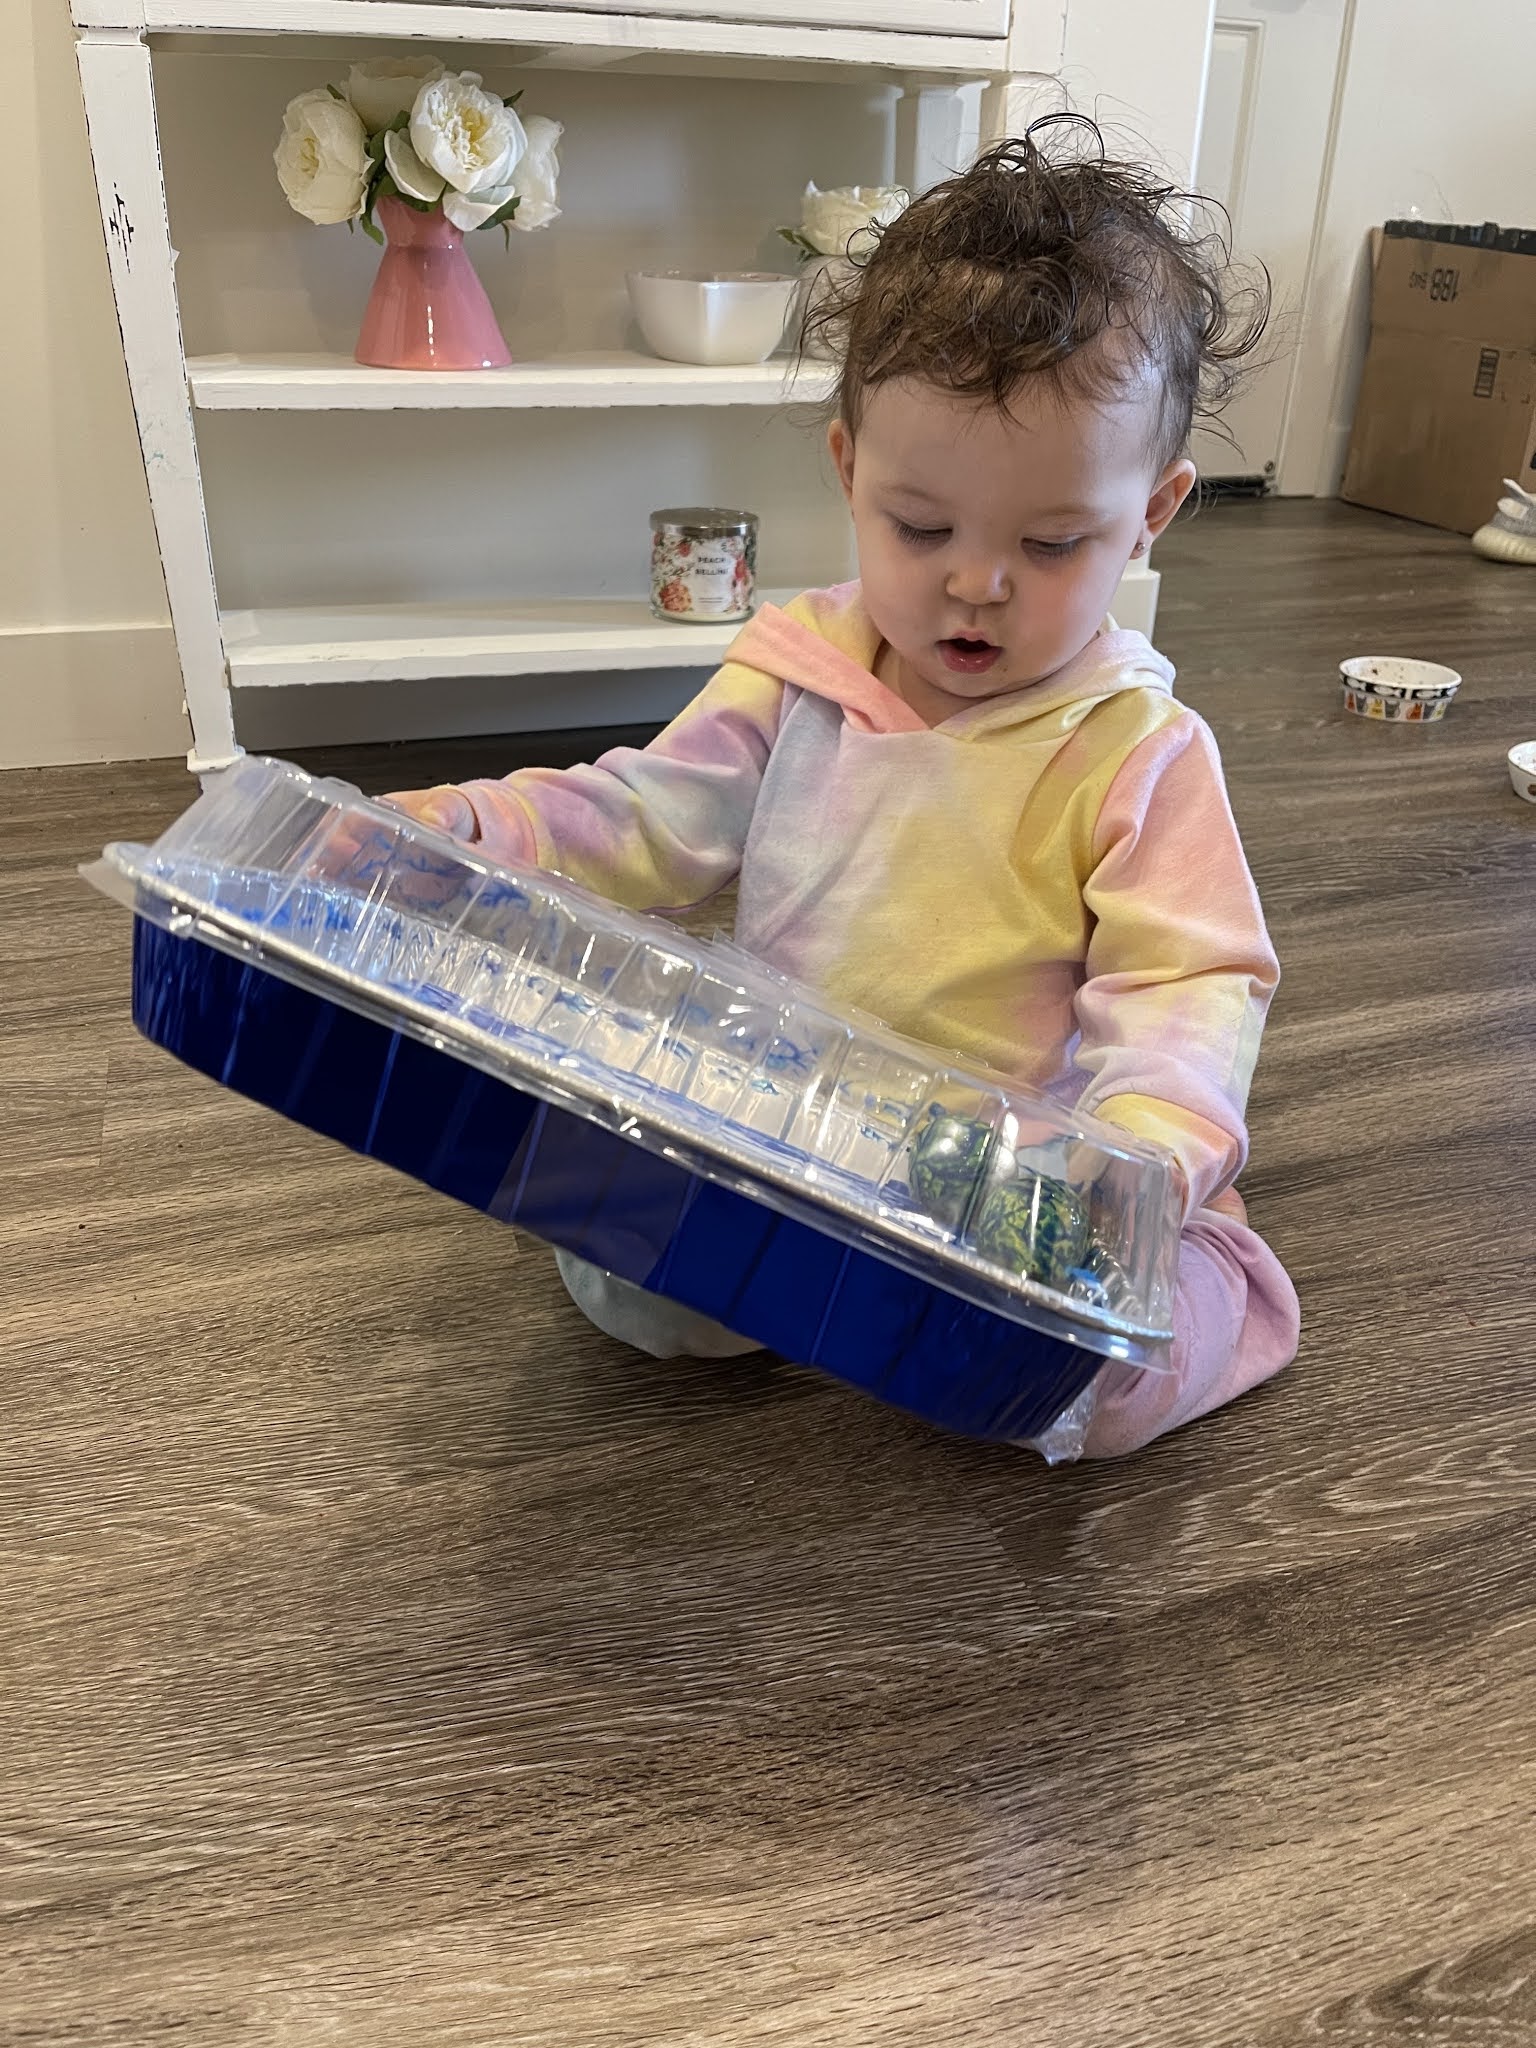
What do you get when you add two golf balls and add paint? Believe it or not some beautiful and baby friendly art. Lola and I had a blast doing this today. I guess one-year-olds can create some beautiful art lol. It was really easy and Lola had fun doing it because of the noises and stimulation.

Supplies Needed:

- Non-toxic paints
- Paper or canvas
- Tape
- 2 golf balls
- A lidded container, preferably with a clear top
Directions:
- Tape the paper to the bottom of your lidded container

- Add small amounts of paint on the paper
- Add your golf balls
- Close the container and add tape to make it secure

- Shake the container to help your baby understand and show them the noises the ball makes inside
- Enjoy your baby's masterpiece!


Optional:
- I cut out a heart shape on pasteboard and taped it down to our paper. This made the heart stay white when we were finished with the painting. This is optional... you could also do different shapes or letters.


Hi friends! I wanted to take a minute to introduce myself and give you a little more insight into why I decided to create Roses Supposes. So here are 10 random facts about me!
- I am married to the most AMAZING person! His name is Sharif but I call him Ucee (that's a story for another day). My brother introduced us and I have been smitten from our first date. We have been married three years and started dating two years before that.We are complete opposites but I think that's why our relationship works.

- My life forever changed on January 9th, 2020 after having my first baby. I have wanted to be a mom for as long as I can remember. From the moment I laid my eyes on Lola I was so in love. She is such a good baby and looks just like her Daddy lol. She is the perfect mix of sweet and sassy and has the biggest personality. She is the main inspiration behind Roses Supposes and I can't wait to share more of her with you.

- I am a journalism junkie and have a passion for writing. Before I had Lola I was working full time in the news industry. I worked in many different roles but my favorite was being a News Producer. I loved the adrenaline and being able to write the shows. I also enjoyed being in front of the camera and I have recently been getting back into it.

- I graduated from The University of Utah with a degree in Broadcast Journalism. Go Utes!

- I also attended a Performing Arts college right out of high school where I was able to perform and travel abroad to Europe and Japan. Japan will always be a second home to me.

- I am a huge Disney fan! I was even named after Sleeping Beauty, also known as Briar Rose. My happy place is walking down Main Street holding a churro in each hand while wearing my Mickey ears.

- I did pageants while in college. I feel like pageants get a bad rap and it makes me sad because it was such a life changing experience for me. While preparing for Miss Utah I was in the best mental and physical shape of my life. I was also able to win scholarship money which was awesome.

- I started dancing when I was three and I haven't stopped yet. I currently teach and it makes me so happy. It is another creative outlet for me and I love my students.

- Fall is by far my favorite season. There is something about the weather that makes me so happy. Some of my favorite things to do are pumpkin patches, watching scary movies and snuggling up on a cold day.

- And finally, the easiest way to become my best friend is Diet Coke and chocolate.


Social Icons